
The production of a custom 3D resin fridge magnet begins long before resin is poured. Buyers searching for “souvenir fridge magnets production” are usually trying to understand this complete route. A factory must translate flat references into a manufacturable relief, separate the design into color and depth zones, create an approved sample, reproduce the molded parts consistently, finish the surface, attach the backing magnet and pack the product safely.
For buyers, understanding this sequence makes communication easier. It also explains why two quotations for apparently similar 3D refrigerator magnets may differ: the relief, mold complexity, finishing process, reject allowance, backing method and packaging may not be the same. Define those items first with the resin fridge magnet specification checklist.
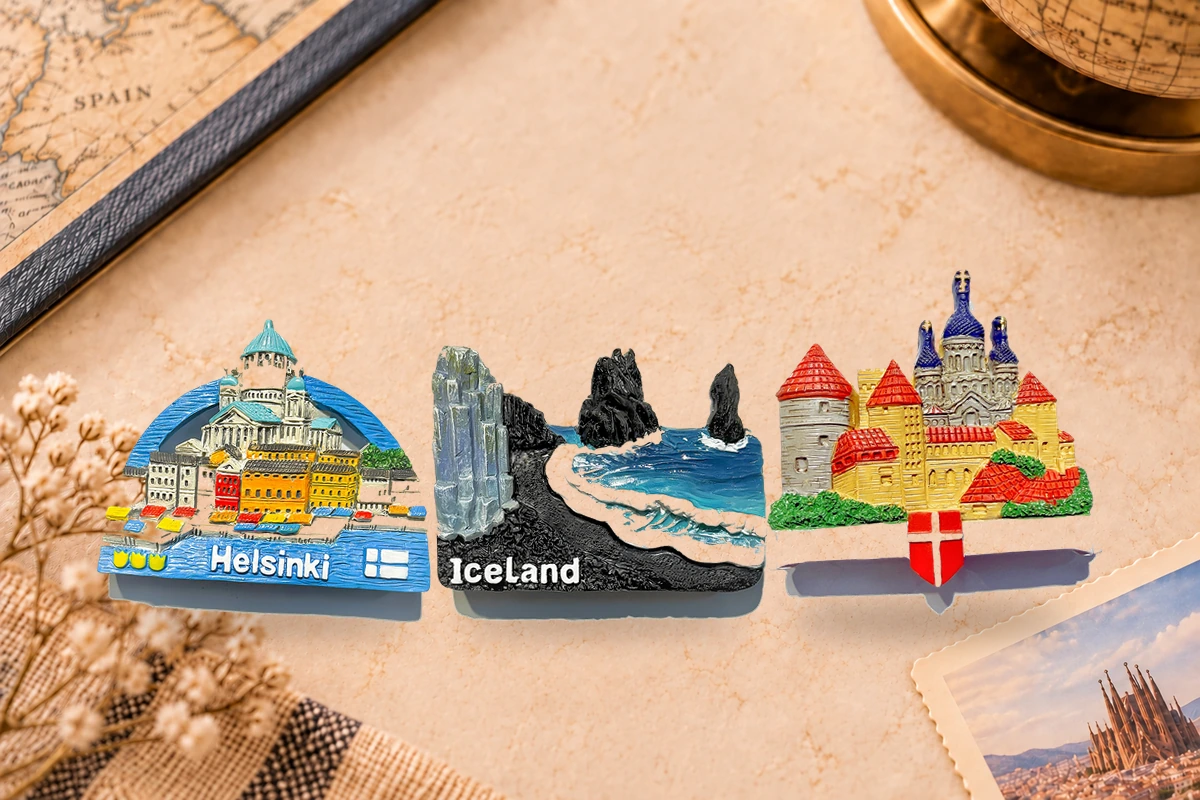
Quick Answer: What Is the Production Sequence?
The typical sequence is:
- project brief and reference review;
- relief artwork or sculptural development;
- mold planning and sample preparation;
- physical sample approval;
- resin or polyresin casting;
- trimming, cleaning and surface preparation;
- hand painting, UV printing or combined finishing;
- protective coating where specified;
- magnet attachment and curing;
- inspection, individual packing and carton packing.
The exact sequence can change with the product structure. Buyers should confirm the applicable process with the selected resin refrigerator magnets manufacturer instead of treating this as a universal factory formula.
Step 1: Define the Product Before Modeling
The production file should state the finished dimensions, outside shape, intended relief depth, city name, landmark hierarchy, colors, magnet position and packaging. A phrase such as “make it 3D” is not enough. One buyer may want shallow embossed lettering; another may want a skyline with several depth levels and separate foreground elements.
For the currently published 3D polyresin fridge magnet, a common size reference is about 7 × 5 cm, with custom dimensions available. Changing size can change the readability of windows, lettering and small architectural elements, so final artwork should be reviewed at actual scale.
Step 2: Convert References into Relief
City souvenir magnets often begin with photographs, maps, illustrations or tourism graphics. These need to be interpreted as physical depth. The design team decides which elements sit in the background, middle layer and foreground.
Good relief hierarchy normally includes:
- a clear outside silhouette;
- one dominant landmark or central subject;
- supporting buildings or cultural elements;
- a readable destination name;
- sufficient thickness around narrow or projecting areas;
- a flat and stable rear area for the magnet.
Too much tiny detail can make a sample look crowded and increase painting difficulty. The goal is not to reproduce every pixel from a photograph; it is to preserve the features that make the destination recognizable.
Step 3: Review Moldability and Risk Areas
Before tooling, the manufacturer should identify undercuts, thin projections, sharp corners, deep recesses and areas that may trap air or be difficult to finish. A custom 3D fridge magnets manufacturer may recommend increasing a narrow tower, simplifying a railing or adjusting letter spacing.
These changes should be approved rather than made silently. A manufacturable design can still remain faithful to the original landmark when the essential profile, proportions and symbols are protected.
Step 4: Make and Approve the Sample
The sample validates more than appearance. It confirms whether the chosen design can be molded, finished, magnetized and packed as intended. The currently published sample reference is 7 to 10 days after the necessary specification and artwork are confirmed, although complex revisions may require additional time.
During approval, compare the physical sample with a signed reference sheet. Check dimensions, relief, color, text, magnet position and packaging. Photograph the approved sample from the front, side and back so production inspectors have a usable standard.
Step 5: Cast the Resin Components
The prepared material is introduced into the mold and allowed to cure according to the applicable production process. Consistency matters because variation can affect thickness, surface detail and final weight. Cast pieces are removed and inspected before finishing.
Common problems at this stage can include incomplete details, air bubbles, distortion, rough edges or damaged projections. These should be removed from the acceptable production quantity rather than hidden by paint.
Step 6: Trim and Prepare the Surface
After demolding, edges and mold lines may require cleaning. The surface must be suitable for the planned finish. Dust, residue or uneven areas can affect both hand painting and UV printing.
Fridge magnet makers should protect the original outline during cleaning. Excessive grinding can change architectural detail, soften lettering or make a set of city designs look inconsistent.
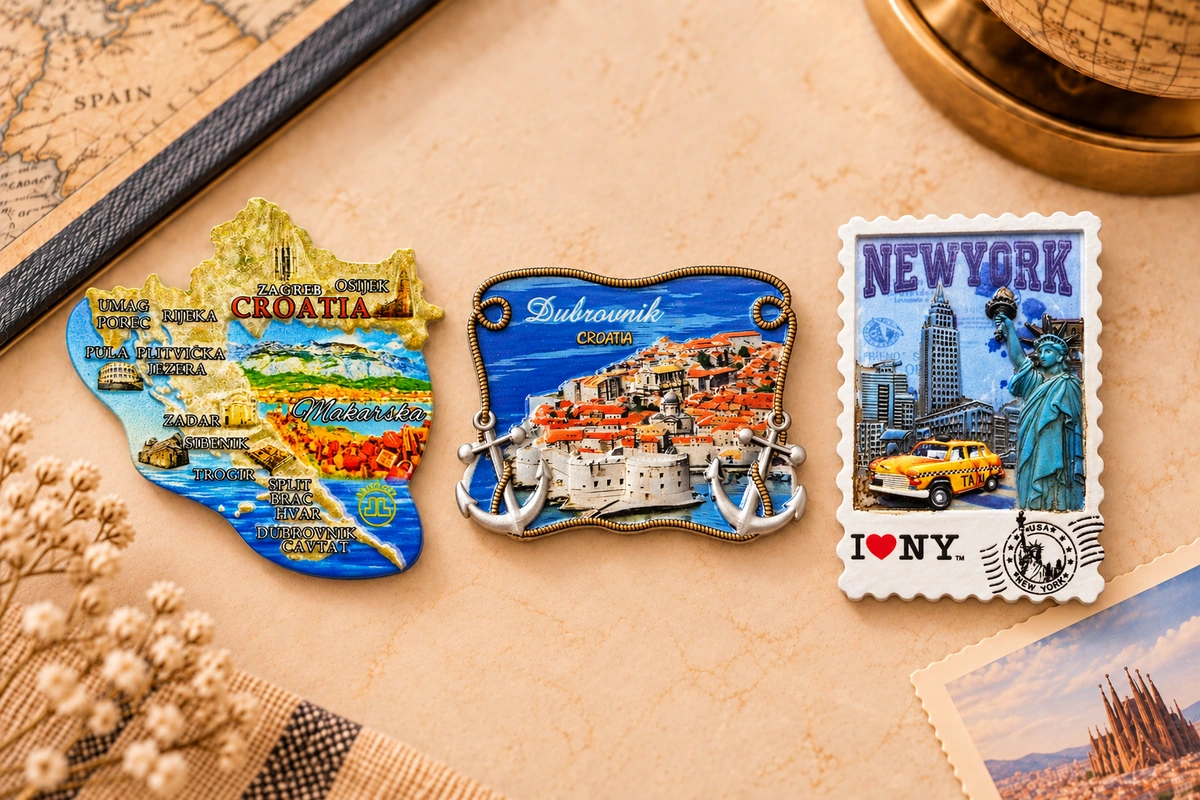
Step 7: Apply Color and Artwork
Hand-painted finishing
Hand painting normally divides the relief into color zones. It is effective for roofs, walls, windows, flags, vegetation and dimensional decorative elements. Painters need an approved color reference and a clear understanding of which raised boundaries separate the colors.
UV-printed finishing
UV printing can place graphic detail, gradients and repeated artwork on suitable product areas. Registration is critical: the print must align with the molded surface and remain readable without drifting across relief edges.
Combined finishing
Some resin souvenir magnets use hand-painted base colors with printed details or lettering. This can balance dimensional character with graphic precision, but it adds control points. The quotation should state which areas use each method. See the detailed comparison of hand-painted and UV-printed resin magnets.
Step 8: Add Protective Finish When Required
The published product specification includes protective coating as an available surface process. The appropriate coating and appearance should be confirmed for the project. Buyers should review gloss level, color change, pooling in recessed areas and compatibility with printed or painted decoration.
Do not assume every coating creates the same scratch, moisture or chemical resistance. Any performance requirement must be stated and verified for the intended market.
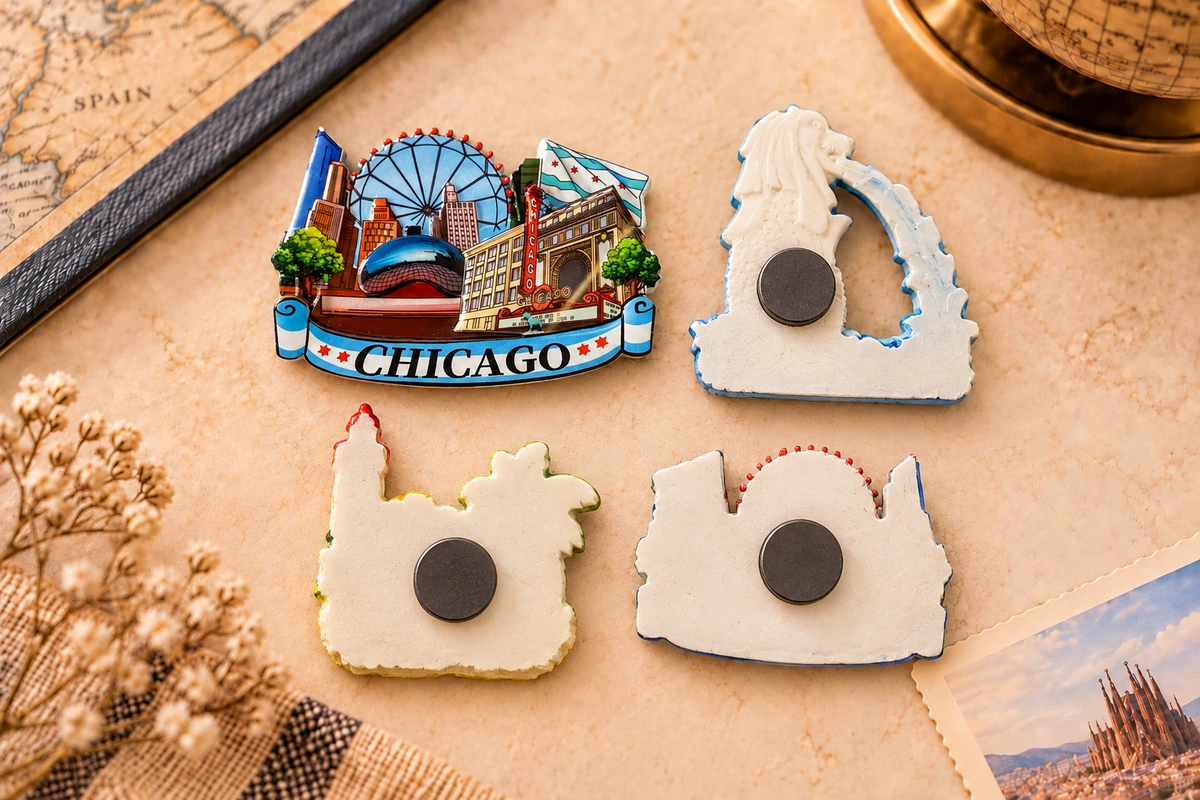
Step 9: Attach the Backing Magnet
The magnet must support the finished resin weight on the intended surface. Its type, diameter, quantity and position should be defined during development, not added as an afterthought.
Quality checks should confirm:
- correct magnet specification;
- clean and flat attachment area;
- secure adhesive or assembly method;
- consistent position and orientation;
- no exposed sharp or rough areas;
- adequate holding performance for the finished product.
Heavier or unusually shaped designs may require a different magnet arrangement. Confirm this through the physical sample.
Step 10: Inspect and Pack
The current standard reference is individual OPP bag packing and bulk carton packing. Custom backing cards, labels, boxes or display solutions can be reviewed separately. Packing should prevent painted faces and raised details from rubbing against one another.
Inspection should use the approved sample and written tolerances. A useful checklist covers:
| Inspection area | What to check |
|---|---|
| Casting | Complete shape, no major bubbles, cracks or distortion |
| Relief | Correct depth and recognizable landmarks |
| Color | Approved palette, clean boundaries and balanced coverage |
| Printing | Registration, readability and complete image transfer |
| Text | Correct spelling, language and placement |
| Magnet | Correct type, secure attachment and holding performance |
| Packaging | Correct item, orientation, label and protection |
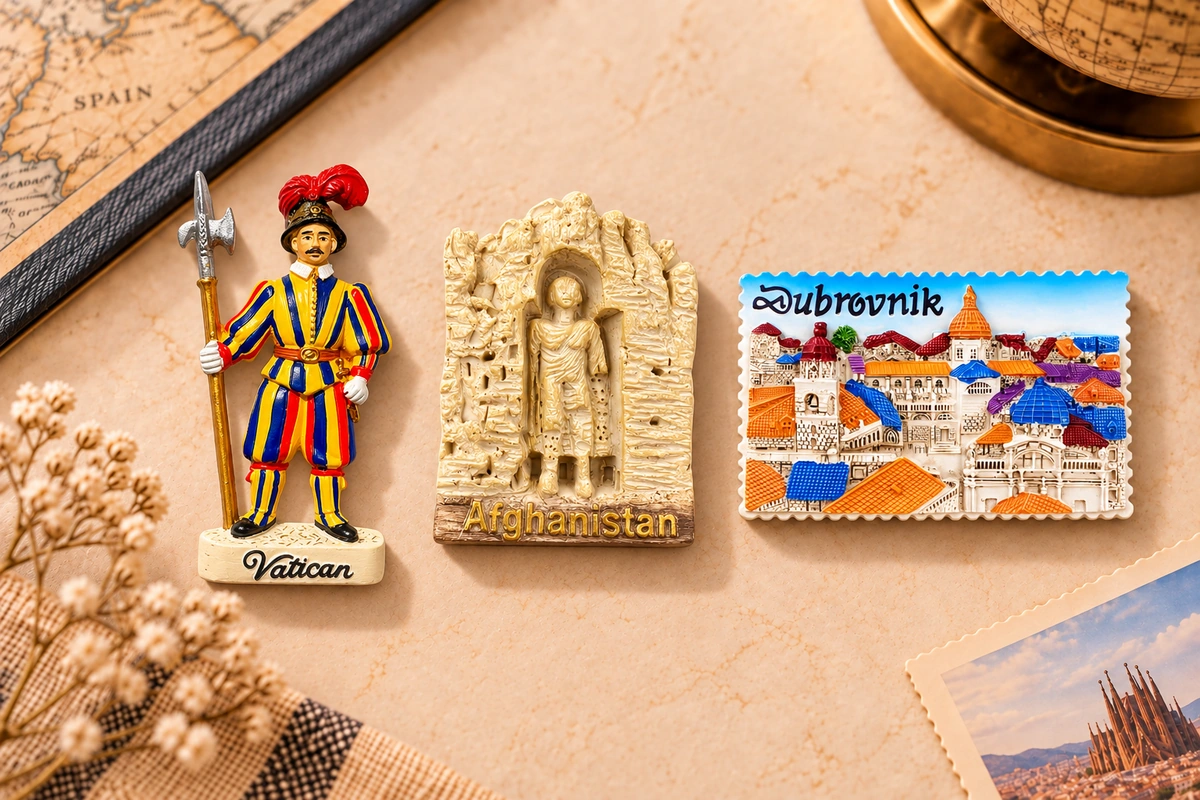
What Changes Cost and Lead Time?
The main variables include product dimensions, relief complexity, number of colors, hand-painting time, printed detail, quantity per design, packaging and the number of samples or revisions. A multi-city order may contain many molds even when the magnets share one size.
The current product reference lists an MOQ of 1,440 pieces per design and a production time of 30 to 35 days. Treat these as planning references, not automatic commitments for every design. Ask the factory to confirm the schedule after artwork, quantity and packaging are fixed, then compare the full commercial scope with the MOQ, pricing and packaging guide.
How Buyers Can Work More Effectively with a Factory
Send one controlled brief instead of several conflicting message threads. Number every design, keep exact wording in editable files and record revision dates. Approve the physical sample and packaging before authorizing mass production.
When comparing factories or production partners, ask how they control molding, finishing and magnet attachment rather than asking only for the lowest price. The 3D polyresin fridge magnet product page provides the current project reference, while our China sourcing partner checklist offers broader supplier-evaluation questions.
For buyers developing several souvenir categories at once, our one-stop sourcing guide explains how artwork, samples, packaging and consolidated shipment can be coordinated without losing product-level controls.
Frequently Asked Questions About Resin Fridge Magnet Production
How are 3D resin fridge magnets made?
They are developed from approved references, converted into relief, sampled, molded, cleaned, painted or printed, fitted with a backing magnet, inspected and packed. The exact process depends on the design and finish.
Does every design need its own mold?
Different relief artwork normally requires separate tooling or mold preparation. Shared size and packaging can simplify a collection, but they do not automatically remove design-specific tooling.
What artwork should be supplied to the manufacturer?
Provide high-resolution landmark references, editable wording and logos, target dimensions, color references, quantity per design, finish preference and packaging requirements.
Why must very small details sometimes be simplified?
Tiny features may not mold cleanly, accept paint consistently or remain visible at the final size. Simplification should retain the landmarku2019s most recognizable features.
Can hand painting and UV printing be combined?
Yes, when the design and surface allow it. The quotation and approval file should identify exactly which areas are painted and which are printed.
What is the current sample time?
The published reference is 7 to 10 days after the artwork and specification are ready. Revisions, complex relief or special packaging can extend development.
What is the current production time?
The published reference is 30 to 35 days after approval. The manufacturer must reconfirm timing for the final quantity, number of designs, finish and packaging.
How is the backing magnet selected?
Selection depends on finished weight, shape, rear surface and intended use. The sample should confirm the type, position, attachment and holding performance.
What defects should inspection look for?
Check incomplete casting, bubbles, cracks, distortion, rough edges, incorrect colors, print misalignment, spelling errors, weak magnet attachment and inadequate packaging.
How can buyers compare two production quotations?
Compare the same dimensions, relief, material, finish, magnet specification, quantity per design, packaging, tooling, sample terms, inspection scope and delivery basis.
3D Resin Magnet Production
Turn Your Landmark Artwork into a Manufacturable 3D Magnet
Share your destination references, dimensions, relief goals, finish, quantity and packaging. We can review the design requirements and prepare the next sampling steps.
Discuss Your Magnet Project